Image transparency
How to make background transparent free for photos
If you are searching for a free way to make a background transparent, compare each service's access terms before uploading. Start with a clear photo, then inspect the separated subject and the exported file; the linked Supavisual generation tool requires a paid plan.
A/B structural difference table
The comparison below shows what changes when a photo's solid backdrop becomes transparent. If your aim is a cutout rather than an export check, these related guides cover nearby tasks.
What conversion loses
Removing a backdrop changes pixels, not just the way a file is displayed. Work through the image in this order so losses are easier to spot.
-
1
Keep the original
Save an untouched copy first. Once background pixels have been removed, the original scene is the most reliable source if you need to restore an edge or shadow.
-
2
Separate the subject
Request a cutout with the complete subject intact. Thin straps, loose hair, glass, and soft shadows may be mistaken for part of the backdrop.
-
3
Check the result
View the edited image over both light and dark colors. Missing detail and leftover halos often appear on one background but disappear on the other.
The tool block
A solid-background image and a transparent cutout may look alike on a white page. Their underlying pixels behave differently when placed over another design.
Solid background
Transparent cutout
Outside the subject
Solid background
Visible color or scenery remains
Transparent cutout
Pixels can have zero opacity
Placed on a colored page
Solid background
Original backdrop appears as a rectangle
Transparent cutout
Page color shows through clear areas
Subject edges
Solid background
Blend into the original setting
Transparent cutout
Need a clean boundary against new settings
Soft shadows
Solid background
Remain part of the scene
Transparent cutout
May need careful preservation or recreation
White areas
Solid background
White pixels stay visible
Transparent cutout
Clear areas are transparent, not white
File support
Solid background
Common photo files can display it
Transparent cutout
Export must preserve an alpha channel
How to verify after
Compare the subject against its source, then place the result over a contrasting color. A checkerboard preview alone does not prove the exported file kept transparency.
- Original scene
- Cutout preview
Inspect hair, clothing edges, and any space between the subject's arms and body. Reopen the exported file in your destination app to confirm that clear areas stay clear.

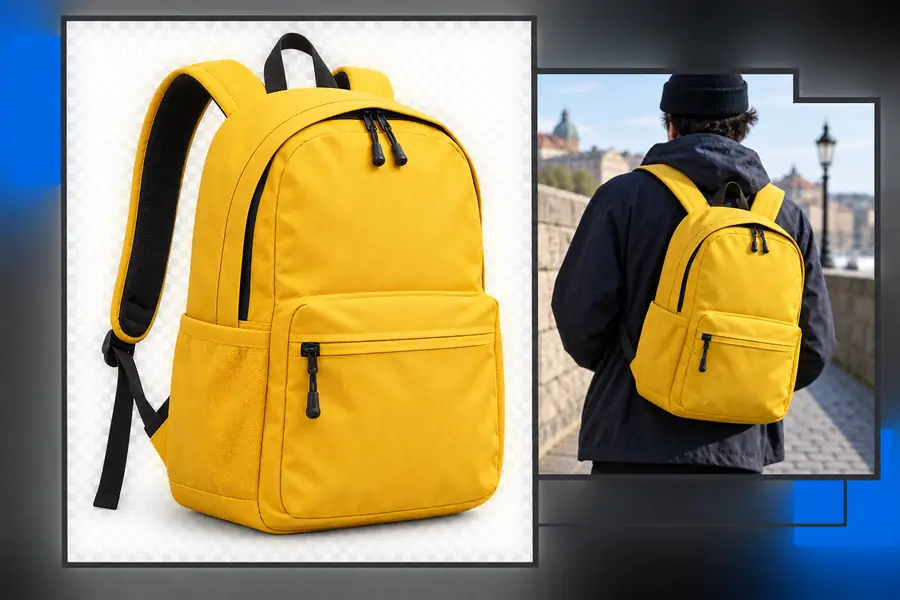
Where a cutout can fall short
A background remover can simplify an image, but it cannot recover detail that the source never captured.
-
Blurred boundaries
Motion blur or shallow focus makes it hard to tell where the subject ends.
WorkaroundUse a sharper source photo or refine the mask by hand.
-
Transparent objects
Glass and sheer fabric should reveal part of the new scene, so a fully opaque cutout can look false.
WorkaroundInspect those regions separately and adjust their opacity in an editor.
-
Lost reflections and shadows
Removing the original surface can also remove visual cues that made the subject feel grounded.
WorkaroundAdd a suitable shadow after placing the cutout in its final layout.
Prepare an image for a new background
Start with the photo you want to change
Describe the subject and the edges you need to keep, then review the result before using it in a design. Bgremover links you to image tools; availability, export options, and access terms depend on the destination.
Explore image tools- Keep the original photo for comparison
- Check the cutout on contrasting colors
- Confirm transparency in the exported file
Variant FAQ
Place the image over a dark or brightly colored layer. If you see a white rectangle around the subject, those pixels are still white rather than transparent.
PNG is a common choice because it supports an alpha channel. Check the actual export settings: naming a file PNG does not remove a background or guarantee its clear areas were preserved.
The image may have been flattened onto a solid color during export, or the receiving app may not display transparency. Reopen the exported file over a colored layer to identify which step caused the problem.
Fine details can be retained, but results depend heavily on the source image and the quality of the cutout. Check the edges at full size and refine them if strands, gaps, or soft transitions are missing.