Bgremover

Photo editing guide

How to use bg remover on iphone for a clean cutout

If you want to know how to use bg remover on iphone, start by deciding whether you need a quick cutout to paste or a separate image file. Your iPhone may already let you lift a subject from a photo; a browser-based editor is another path when you need to inspect and save the result.

Planning example (not sent)

Remove the background from my product photo while keeping the handle and its fine edges intact.

This example stays here. To remove a background at Supavisual, upload your image there; sign-in and an active paid plan are required to generate. Explore Supavisual

The useful distinction is what you need to take away: a subject you can paste, or an image you can save and inspect on its own.

Match the method to the photo

Person making a quick message

You want to place a person or pet from Photos into a conversation without editing the whole picture.

Try the iPhone subject lift first, then paste the copied subject into the message. Inspect the outline before sending, especially around hair or fur.

how to use bg remover online
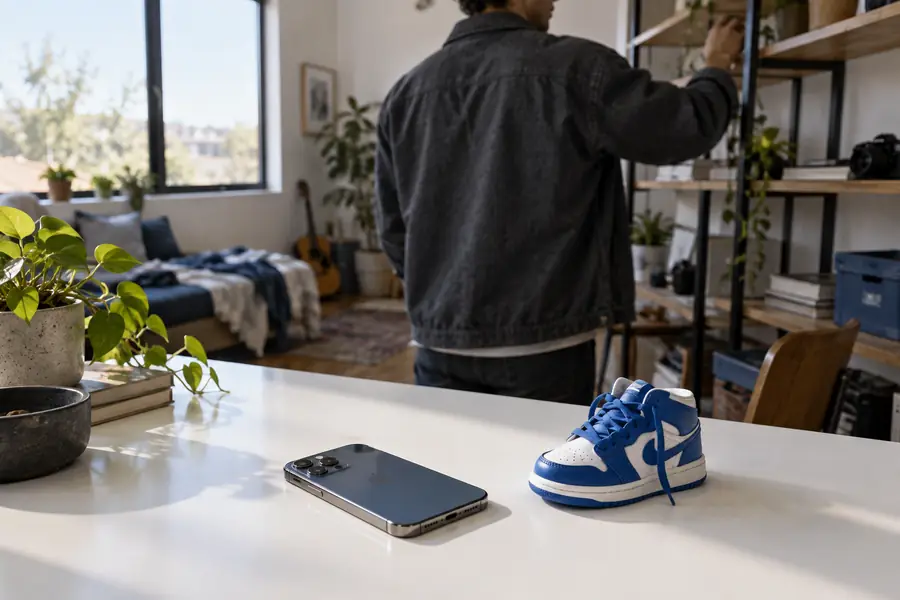
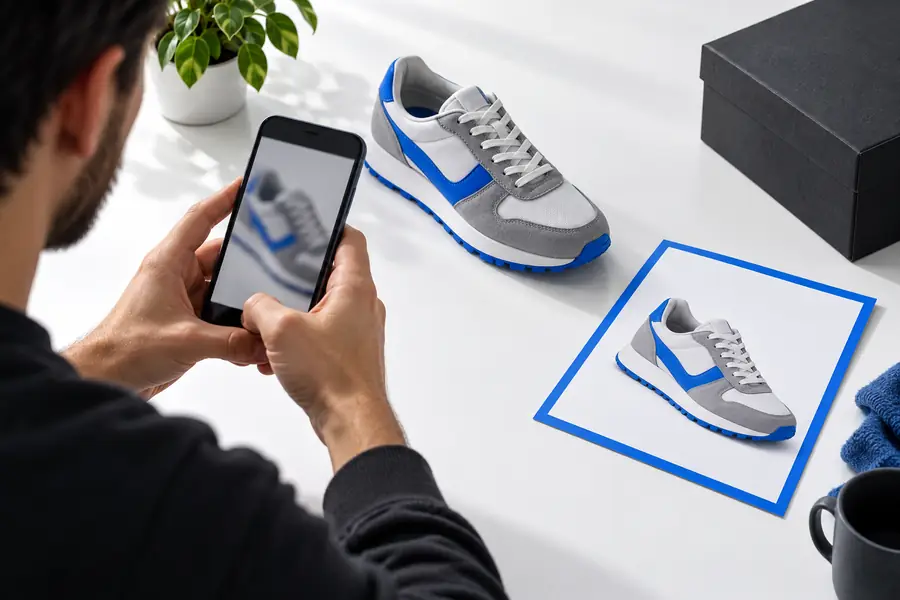
Seller preparing a listing

You need a product cutout that can be reviewed separately from the original photo.

Use a browser-based editing path if the built-in lift does not give you the file or edge control your listing requires. Keep the original for comparison.

how to use bg remover online

Designer working with white objects

A white item sits against a white backdrop, making its outer edge hard to see.

Judge the cutout against a contrasting background before using it. If parts disappear, adjust the source image or try a more deliberate selection.

How do I remove white BG from an image?

Student building a presentation

You need to separate an illustration or photographed object from a plain background.

Test the Photos lift for a fast paste. If the outline loses small details, review another editing path before placing it on a slide.

how to use bg remover online

path A

Start in Photos when your goal is to copy a recognizable subject into another app. The built-in lift depends on a compatible iPhone and iOS version.

  1. 1

    Open a clear photo

    In Photos, choose an image where the subject has a visible outline. A blurred edge or a similarly colored background makes any automatic separation harder to judge.

  2. 2

    Press and hold the subject

    Touch and hold the person, pet, or object until an outline appears. If no outline appears, try a different image or check whether your device supports subject lift; pressing longer will not necessarily solve an unsupported case.

  3. 3

    Copy and inspect the lift

    Choose Copy if the option appears, then paste into the destination app. Check that important details, such as straps, ears, or handles, remain attached rather than assuming the highlighted outline is complete.

path B

Use a browser-based editing path when a pasted subject is not the result you need. Available upload, editing, and export options depend on the service you open.

1

Starting point

Path A: Photos subject lift

Open an existing picture in the iPhone Photos app.

Path B: browser-based editor

Open the editing service in your iPhone browser.

2

First action

Path A: Photos subject lift

Press and hold a distinct subject to see whether it can be lifted.

Path B: browser-based editor

Look for the service’s image input and check what it accepts.

3

Best immediate goal

Path A: Photos subject lift

Copy a subject for use in another app.

Path B: browser-based editor

Work toward a separately reviewed edited image.

4

Edge review

Path A: Photos subject lift

Inspect the lifted outline after pasting it onto a contrasting surface.

Path B: browser-based editor

Inspect the preview at a useful zoom level, if one is available.

5

Saving

Path A: Photos subject lift

Check the receiving app’s save or share options; copying alone does not establish an export format.

Path B: browser-based editor

Check the service’s actual download choices before relying on a particular format.

6

If the result fails

Path A: Photos subject lift

Try a clearer source photo or use an editor with suitable selection tools.

Path B: browser-based editor

Try a clearer source photo and use any correction options the service actually provides.

final check

  • Original photo
  • Subject cutout

Compare the whole silhouette, not just the face. Look for missing hair, gaps between limbs, leftover background, and a faint fringe that becomes obvious on a different-colored surface.

Person photographed with the original background visible
Person separated from the original background

Know what the cutout cannot guarantee

  • A clean edge is not automatic

    Motion blur, flyaway hair, glass, and overlapping objects can confuse subject selection on an iPhone or in a browser. A convincing small preview may still show defects at full size.

    WorkaroundZoom in and test the result against both light and dark backgrounds; use a clearer source or manual editing when necessary.

  • Copying is not the same as exporting

    The Photos lift is useful for pasting, but it does not promise that every receiving app will preserve transparency or offer the file type you want.

    WorkaroundTest the saved result in its destination app before discarding the original photo.

  • Private photos need a deliberate choice

    Opening an external editor may involve sending an image to that service. This guide cannot establish a particular service’s storage or deletion practices.

    WorkaroundRead the service’s current privacy information before submitting sensitive pictures, or stay with on-device editing when appropriate.

Continue with the result you need

Take the next step with your photo

If a pasted subject is enough, finish in Photos and verify it in the app where you will use it. If you need to explore a separate image-editing workflow, open Bgremover’s destination and check its current input and output options before relying on them. Supavisual requires sign-in and an active paid plan to generate.

Explore image editing
  • Keep the original image until the finished result is checked.
  • Review edges at the size where the image will appear.
  • Confirm the saved file in its destination app.

tutorial FAQ

On a compatible iPhone, you can press and hold a subject in Photos to lift it from the picture and copy it. This is especially handy for pasting a subject into another app. Check the pasted result because the lift may miss fine or low-contrast details.

Your iPhone or iOS version may not support the feature, or the image may not have a subject the system can distinguish clearly. Try a sharper photo with a more distinct outline and check your device’s software support. A browser-based editor is another option to investigate if the built-in method is unavailable.

Place the cutout over a different-colored surface and inspect its entire perimeter. Look inside openings such as handles and between arms, as well as around hair. A background that merely matches the page color can look removed even when it is still part of the image.

Not necessarily. Copying prepares a subject for pasting, while the file you can save depends on the receiving app and its export options. Save a test result and reopen it where you intend to use it to confirm that the background behaves as expected.

Choose the Photos lift for a quick paste when it captures the subject well. Consider a browser-based editor when you need a separately saved result or want to investigate other editing options. Check that editor’s current capabilities and privacy terms before uploading a photo.

Start creating
Start creating