Presentation designer
A portrait needs to sit on a colored slide.
Previewing the outline against the slide color makes pale fringes easier to catch.
make background transparent freeImage editing guide
To remove background online, start with a clear image of the subject, then inspect the cutout before using it. Bgremover explains what to look for when an automatic result meets hair, shadows, or similar colors.
Isolate the person in this portrait while preserving loose hair and the natural outline of the jacket.
Background removal separates a subject from its surroundings, but the result is not always a finished image.
Loose hair, fur, lace, and translucent fabric may blend into the original scene. An automatic cutout can remove strands along with the background.
WorkaroundInspect the outline at a larger view and restore important details with a manual mask if needed.
A white shirt against a white wall, for example, gives an editor less contrast to work with. Parts of the subject may be mistaken for the background.
WorkaroundChoose a source photo with clearer separation, or refine the mask around the affected area.
A cutout will not recover a blurry face, fix harsh lighting, or reveal details hidden behind another object.
WorkaroundCorrect the source image separately or choose a sharper photo before making the cutout.
The workflow is simple to follow, even when the final edge needs careful editing.
Choose a photo where the subject is visible and not heavily obscured. Look for clear boundaries around the parts you need to keep.
A background-removal tool estimates which pixels belong to the foreground. Review its result rather than assuming every boundary is correct.
Check hair, corners, shadows, and gaps between objects. Preview the cutout against its intended new background to spot leftover color or missing detail.
The best follow-up depends on whether you need a transparent result, a tighter crop, or help with a plain white backdrop.
A cutout is most useful when the subject remains recognizable and its outline looks natural in a new setting.
Check the area around the hair and clothing, not just the large empty parts of the background. A preview is an illustration of the visual goal, not a guarantee that every source photo will produce the same edge.

Use an automated first pass for a straightforward subject; reserve hands-on editing for boundaries that matter in the final image.
Automated cutout
Manual mask
Automated cutout
A tool estimates the foreground.
Manual mask
An editor selects or paints the foreground.
Automated cutout
Often suitable for a first pass.
Manual mask
Can be traced deliberately.
Automated cutout
May lose fine strands.
Manual mask
Allows targeted restoration.
Automated cutout
May misidentify parts of the subject.
Manual mask
Lets an editor correct the boundary.
Automated cutout
Useful for reviewing several images with the same goal.
Manual mask
Each image needs individual attention.
Automated cutout
Inspect against the intended new background.
Manual mask
Inspect for hard edges and missed areas.
The destination of the image determines which imperfections matter most.
A portrait needs to sit on a colored slide.
Previewing the outline against the slide color makes pale fringes easier to catch.
make background transparent freeThe person fills too little of the original frame.
A tighter composition draws attention to the subject after the backdrop is removed.
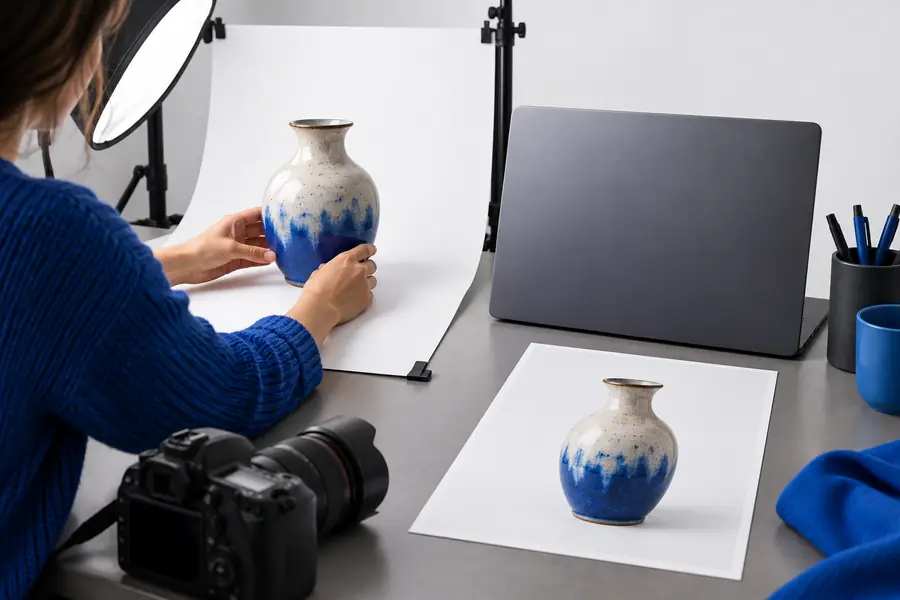
photo cut out free onlineA light product is photographed against white.
Checking the product boundary helps preserve pale details that could vanish with the backdrop.
How do I remove white BG from an image?Start with the image you have and a clear description of the result you want. Review the available tools, then judge any cutout by its edges and by how it looks in its final setting. Supavisual requires sign-in and an active paid plan to generate.
Explore image toolsCheck whether the entire subject remains intact, especially hair, pale clothing, and narrow gaps. Then preview the result against the color or image you plan to use behind it.
Pixels at the edge of a subject often contain color from both the subject and its original surroundings. That mixed color can become visible on a different backdrop, so the edge may need refinement.
You can attempt a cutout, but overlapping objects and similar colors make it harder to identify the subject cleanly. Review the boundary closely and be prepared to correct the mask or choose another source image.
A cutout can be placed on a transparent background, but transparency depends on how the result is saved or exported. Check the available output options and confirm the image stays transparent when opened elsewhere.